Instantiate Unity

Welcome to the enchanting realm of Unity game development! In this blog post, we’ll delve into the concept of “Instantiate Unity,” a magical feature that lets you conjure objects during gameplay, like characters and bullets that seamlessly appear as your game runs.
It’s like having a cloning machine for game elements, breathing life into your creations! We’ll walk you through a step-by-step tutorial on how to use “Instantiate Unity” and share essential techniques to efficiently manage GameObject instantiation, ensuring your game runs smoothly and mesmerizes players with its performance.
So, get ready to embark on this extraordinary journey, casting spells of dynamic elements and captivating gameplay experiences throughout your game!
Understanding Instantiate Unity
In Unity, when we talk about “Instantiate,” we mean creating an object during gameplay. Imagine you have a cool character or a bullet that you want to spawn while your game is running. That’s where Instantiate comes into play!
Think of Instantiate as a magical way to make a copy of a prefab (a blueprint for an object) and place it right into your game scene. It’s like a cloning machine for game objects!
Let’s break it down a bit:
1. The Prefab: First, you need to create a prefab in Unity. A prefab is like a ready-made template for your object. You design and set up your character, bullet, or whatever you want, and then save it as a prefab.
2. The Script: Next, you’ll write a little piece of code (called a script) that handles when and where the object should appear. Inside this script, you’ll use the “Instantiate” function.
3. The Magic: When your game is running, and a specific condition is met (maybe you press a button or defeat an enemy), the “Instantiate” function gets called. It creates an exact copy of your prefab in the game world at a specified position and rotation.
4. Enjoy the Show: Voilà! Your new object is now part of the game scene, and you can interact with it just like any other game object. You can have multiple clones of the same prefab, and they can all do their own thing independently.
For example, let’s say you have a game where enemies spawn randomly as the player progresses. You can use Instantiate to create enemy clones at those random spawn points. Or maybe you have a weapon that shoots projectiles. You can use Instantiate to spawn bullets every time the player shoots.
Remember, in Unity, “Instantiate” is your go-to tool for creating objects on the fly and adding dynamic elements to your game. So whenever you want to pop something into your scene while the game is running, think of the magic word: “Instantiate”!

How to Instantiate Objects in Unity: Step-by-Step Tutorial
Alright, let’s dive into how to Instantiate objects in Unity with a step-by-step tutorial:
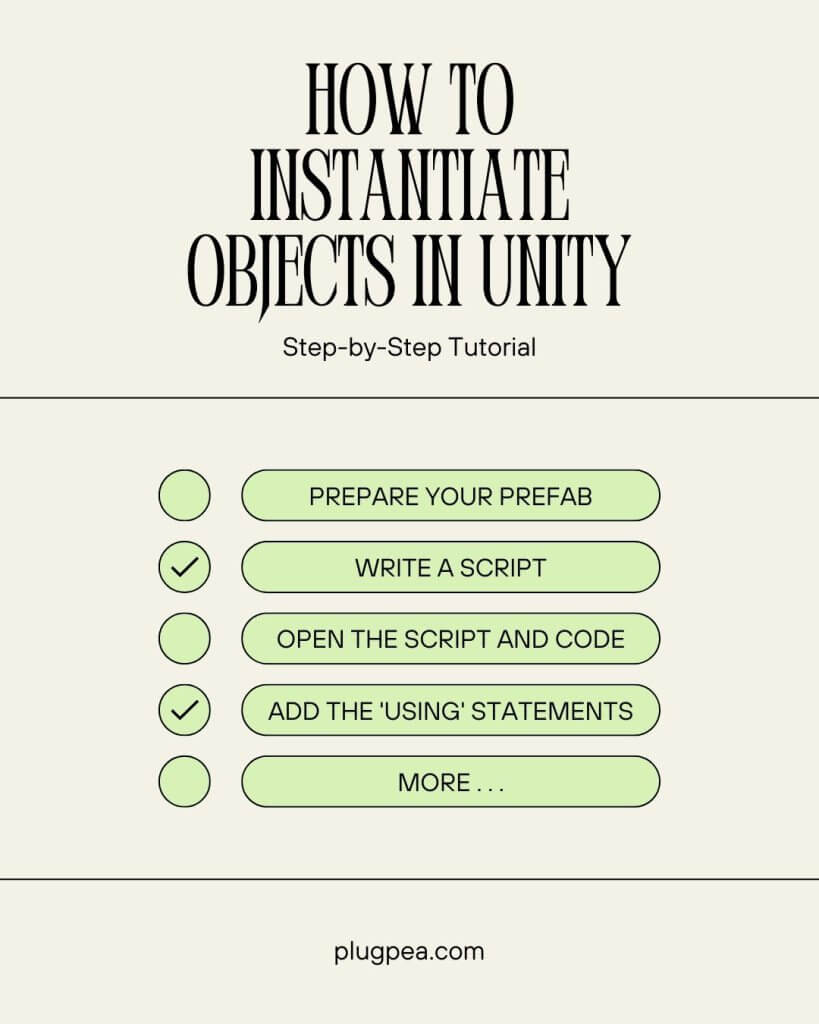
Step 1: Prepare your Prefab
So, first things first, you gotta have a prefab ready. Think of it as a blueprint for the object you want to create during the game. Maybe it’s a sweet power-up, a cute character, or a dangerous bomb. Design and set up your prefab just how you want it to appear when spawned.
Step 2: Write a Script
Time to create a script! Don’t worry; it’s not as scary as it sounds. In Unity, you can use C# or other scripting languages. For this example, let’s go with C#. Create a new C# script and give it a catchy name like “ObjectSpawner” or “SpawnController.”
Step 3: Open the Script and Code
Open the script in your favorite code editor (like Visual Studio, Visual Studio Code, or even Unity’s built-in MonoDevelop). You’ll need to write a couple of lines of code inside the script to make the magic happen.
Step 4: Add the ‘using’ Statements
At the top of your script, include the necessary “using” statements like:
using UnityEngine;
Step 5: Define Variables
Declare any necessary variables, such as the prefab you want to spawn and the spawn position. For example:
public GameObject prefabToSpawn;
public Transform spawnPosition;
Step 6: The ‘Instantiate’ Call
Here comes the exciting part! Find the right spot to put the “Instantiate” function inside your script. When you’re ready to spawn the object (maybe when a button is pressed or an event occurs), you can use this line of code:
Instantiate(prefabToSpawn, spawnPosition.position, spawnPosition.rotation);
This code creates a copy of the prefab (the one you prepared in Step 1) and places it at the position and rotation defined by the “spawnPosition” variable.
Step 7: Attach the Script to an Object
After you’ve written the script, save it, and head back to Unity. Find an empty GameObject in your scene where you want the spawning magic to happen. Drag and drop the script onto that GameObject in the Unity editor. This attaches the script to that object.
Step 8: Set the Prefab and Spawn Point
Back in the Unity editor, you’ll see your GameObject with the attached script. You can see two new fields in the script component: “Prefab To Spawn” and “Spawn Position.” In “Prefab To Spawn,” drag your prefab from the Project window to this field. For the “Spawn Position,” you can manually type in the spawn position or drag another GameObject (like an empty GameObject) to define the position and rotation.
Step 9: Test It Out
That’s it! Now, when you run your game, and the conditions are met (like pressing a button or triggering an event), the object will be instantiated (spawned) at the defined position. Exciting, right?
Remember, this is just the beginning of the spawning magic you can create in Unity. You can use loops, timers, or other conditions to spawn objects dynamically and make your game world even more dynamic and interactive!
Managing GameObject Instantiation in Unity: Techniques for Efficiency
Let’s talk about managing GameObject instantiation in Unity efficiently! We want our game to run smoothly, so we must be mindful of how we create and destroy objects. Here are some casual techniques to keep things snappy:
1. Object Pooling:
Imagine having a stash of pre-created objects (like bullets or enemies) ready to use instead of constantly making new ones. It’s like a recycling system for game objects! Object pooling reduces the overhead of Instantiate and Destroy calls, which can be costly. Instead, you activate and deactivate objects as needed, which saves time and resources.
2. Pooling Managers:
To make things even easier, you can use pooling manager scripts or plugins from the Unity Asset Store. These handy tools help you manage object pools effortlessly, handling activation, deactivation, and keeping track of available objects.
3. Batching:
Batching is like herding objects together to minimize draw calls. Unity can efficiently render multiple similar objects if they use the same material. So, if you have a bunch of trees, rocks, or other objects with the same material, group them together to reduce draw calls and improve performance.
4. Combine Meshes:
When you have many objects with the same material, you can combine their meshes into one, reducing draw calls further. Unity provides a built-in feature for this, and you can access it through the “Mesh Renderer” component.
5. Destroy Wisely:
Avoid destroying objects too frequently, especially during gameplay. Repeatedly destroying and creating objects can cause performance hiccups. Instead, when an object is no longer needed, consider deactivating it (if using object pooling) or finding ways to reuse it later.
6. Async Loading:
If you have large or complex objects to instantiate, consider using asynchronous loading. This allows you to load assets in the background while the game continues running, preventing sudden freezes during instantiation.
7. Instantiate Over Time:
If you have many objects to instantiate at once (like creating a group of enemies), you can spread the instantiation over multiple frames. Doing it all at once might cause a momentary hiccup in the game. By spreading it out, you distribute the processing workload, making it less noticeable to players.
8. Pooling Particle Systems:
Particle systems can be expensive too. If you use a lot of particle effects, consider pooling them or limiting the number of simultaneous active particle systems to maintain performance.
9. Optimize Prefabs:
Be mindful of your prefab design. Try to keep them lightweight and optimized. Avoid complex hierarchies and unnecessary components that might slow down instantiation.
Remember, efficiency is key to delivering a smooth and enjoyable gaming experience. So, by using techniques like object pooling, batching, and smart instantiation, you’ll ensure your game runs like a charm, captivating players with its performance!


Responses