How to delete assets in Unity?
Unity Users! Are you looking to clean up your Unity projects and streamline your development workflow? Look no further!
In this blog post, we’ll show you how to delete assets in Unity, change project names, clear the Unity cache, rename scenes, and even get rid of Unity Hub. No matter if you’re a pro developer or new to Unity, these simple instructions will help you handle your Unity projects like a boss.
Alright, let’s get started and discover how to make your Unity experience better by getting rid of useless stuff, tidying up your projects, and keeping your workspace clean and tidy. Get ready to take control of your Unity projects with these essential techniques!
We can start with “delete assets in Unity”:
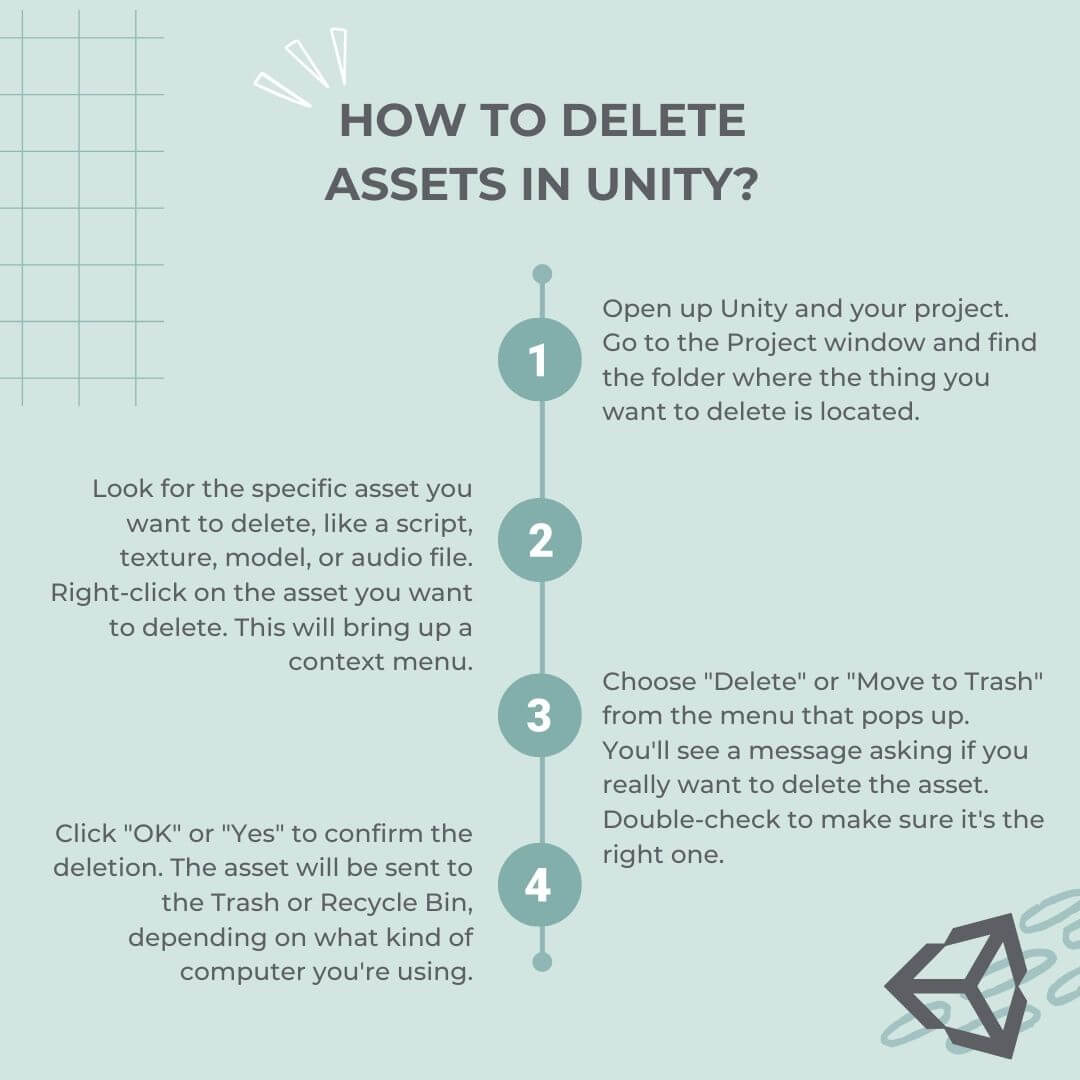
- Open up Unity and your project.
- Go to the Project window and find the folder where the thing you want to delete is located.
- Look for the specific asset you want to delete, like a script, texture, model, or audio file.
- Right-click on the asset you want to delete. This will bring up a context menu.
- Choose “Delete” or “Move to Trash” from the menu that pops up.
- You’ll see a message asking if you really want to delete the asset. Double-check to make sure it’s the right one.
- Click “OK” or “Yes” to confirm the deletion.
- The asset will be sent to the Trash or Recycle Bin, depending on what kind of computer you’re using.
Remember: if you want to completely get rid of the asset, you’ll also need to empty the Trash or Recycle Bin separately.
Just be careful when “deleting assets in unity,” especially if other parts of your project rely on them. If you remove something important without updating the related dependencies, your project might not work as expected or give you errors.
Once you’ve deleted the assets, you might think about deleting your project, giving it a new name, clearing out the Unity cache, changing the Unity scene’s name, or getting rid of the Unity Hub. We’ll cover these topics next.
How to delete Unity projects?
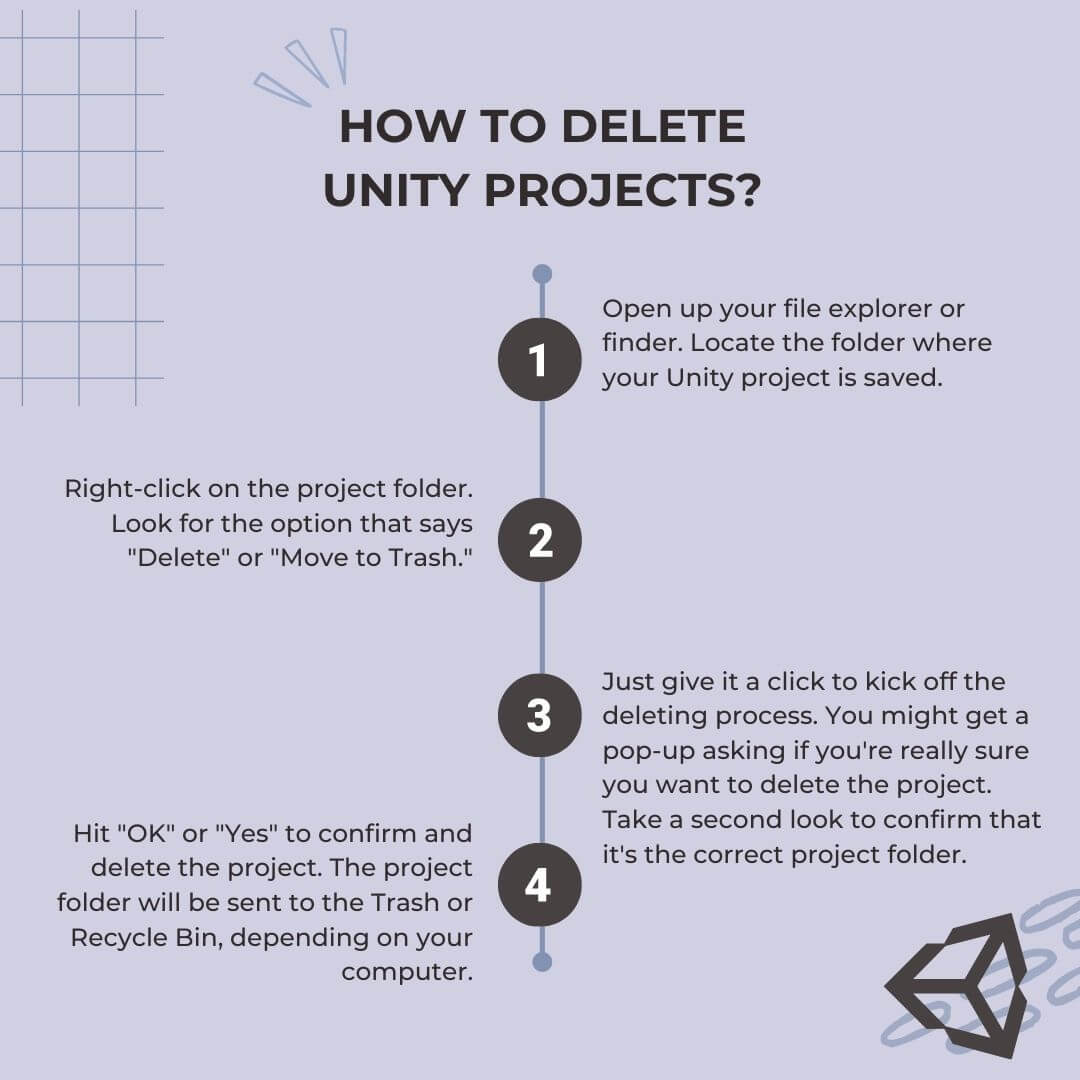
- Open up your file explorer or finder.
- Locate the folder where your Unity project is saved.
- Right-click on the project folder.
- Look for the option that says “Delete” or “Move to Trash.”
- Just give it a click to kick off the deleting process.
- You might get a pop-up asking if you’re really sure you want to delete the project. Take a second look to confirm that it’s the correct project folder.
- Hit “OK” or “Yes” to confirm and delete the project.
- The project folder will be sent to the Trash or Recycle Bin, depending on your computer.
Remember: deleting a project will remove all the files and assets associated with it, so make sure you have a backup or don’t need them anymore.
It’s a good idea to review the contents of the project folder before deleting it to ensure you’re not accidentally removing any important files. Once you empty the Trash or Recycle Bin, the project will be permanently deleted from your computer.
How to rename Unity projects?
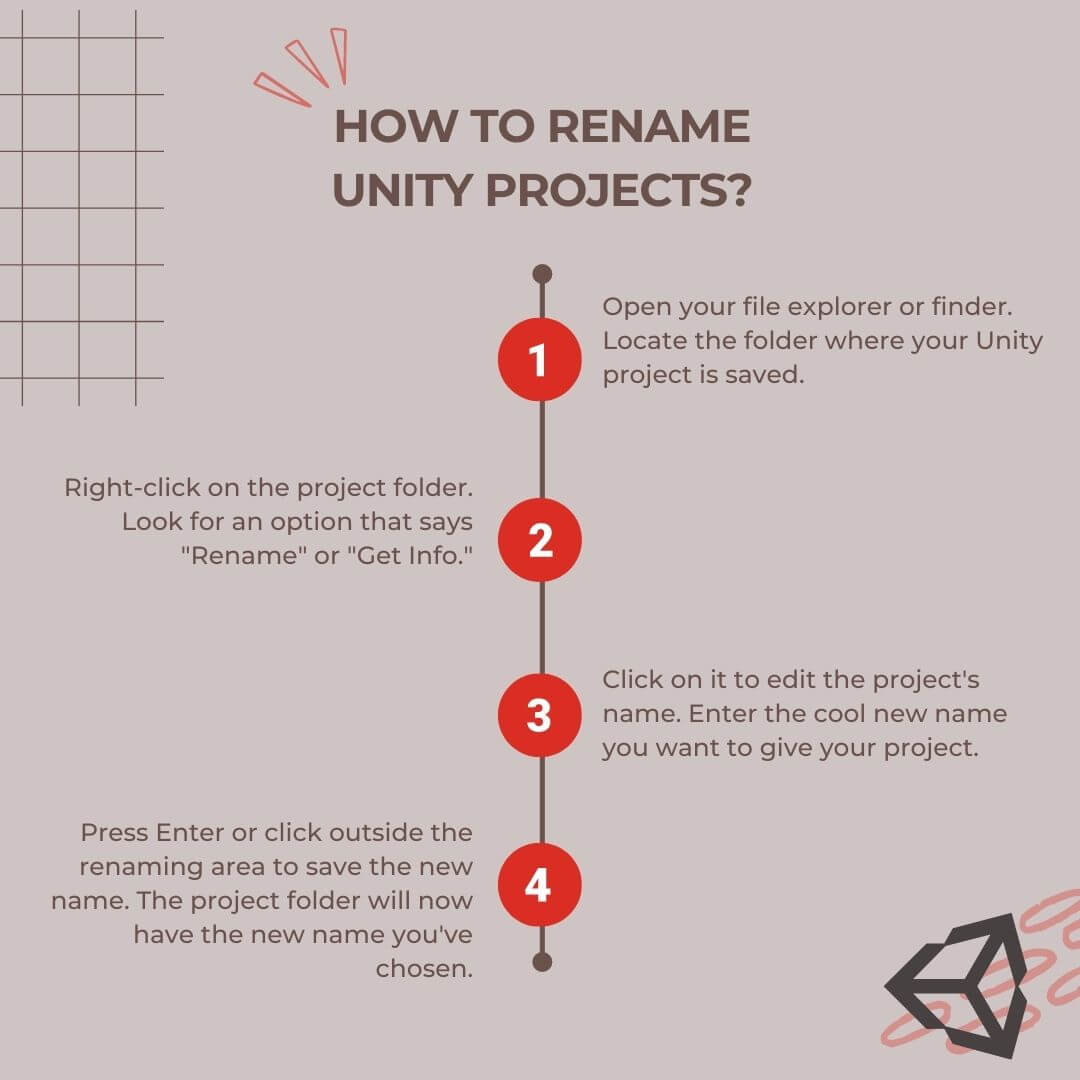
- Open your file explorer or finder.
- Locate the folder where your Unity project is saved.
- Right-click on the project folder.
- Look for an option that says “Rename” or “Get Info.”
- Click on it to edit the project’s name.
- Enter the cool new name you want to give your project.
- Press Enter or click outside the renaming area to save the new name.
- The project folder will now have the new name you’ve chosen.
Keep in mind: Renaming the project folder will only change the name of the folder itself, not the internal references within Unity.
You may need to modify the project’s settings or update any scripts or references that use the old name if you want to update the project name within Unity.
Remember to be careful when renaming your project and ensure that you update any necessary references to avoid any issues within your project.
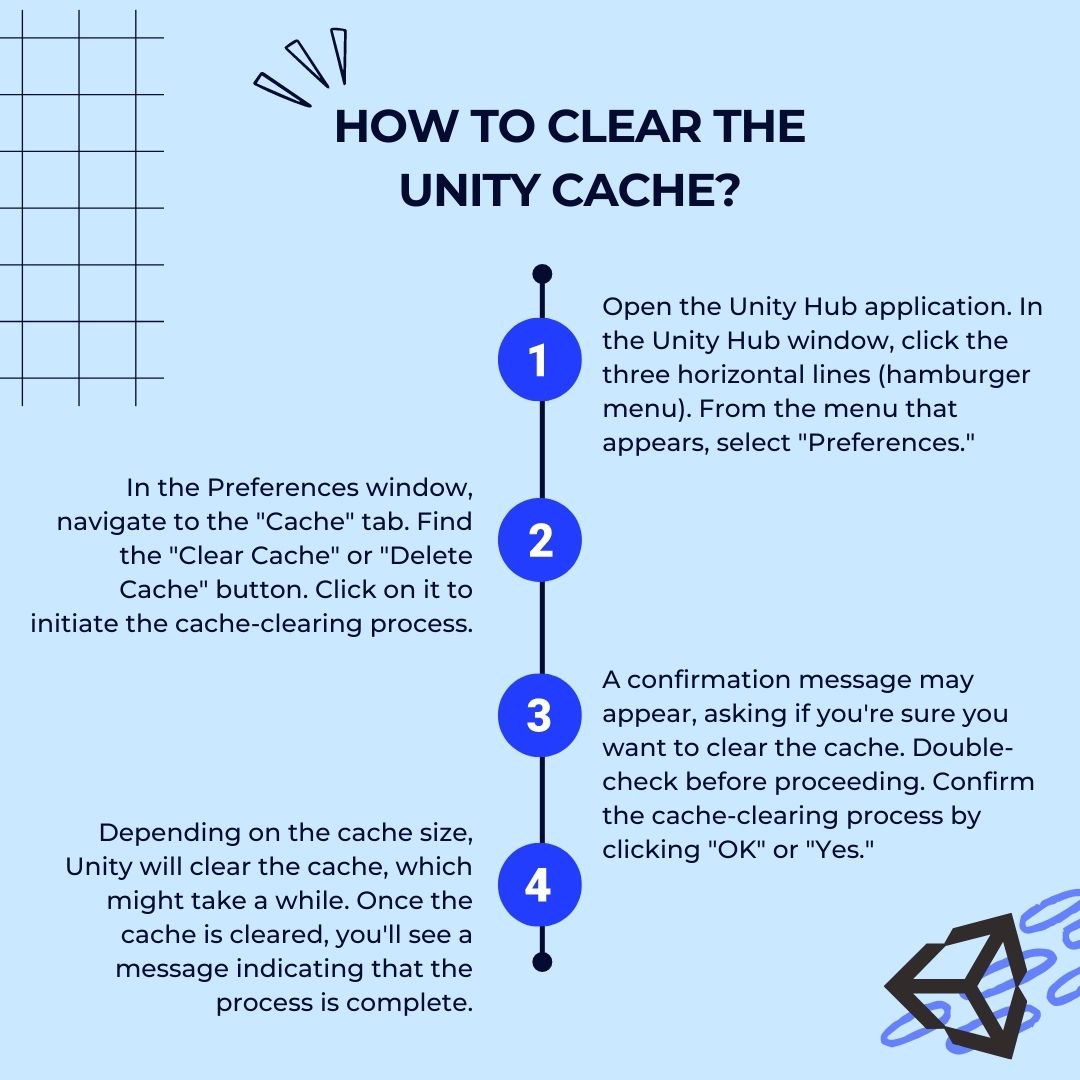
How to clear the Unity cache?
- Open the Unity Hub application.
- In the Unity Hub window, click the three horizontal lines (hamburger menu).
- From the menu that appears, select “Preferences.”
- In the Preferences window, navigate to the “Cache” tab.
- Find the “Clear Cache” or “Delete Cache” button.
- Click on it to initiate the cache-clearing process.
- A confirmation message may appear, asking if you’re sure you want to clear the cache. Double-check before proceeding.
- Confirm the cache-clearing process by clicking “OK” or “Yes.”
- Depending on the cache size, Unity will clear the cache, which might take a while.
- Once the cache is cleared, you’ll see a message indicating that the process is complete.
You can clear the Unity cache to fix some issues and free up disk space, but doing so removes all cached data, including asset previews and downloaded packages. Unity will rebuild the cache as needed when you open projects or download new assets.
It’s generally a good practice to clear the cache if you encounter persistent issues or want to reclaim disk space.
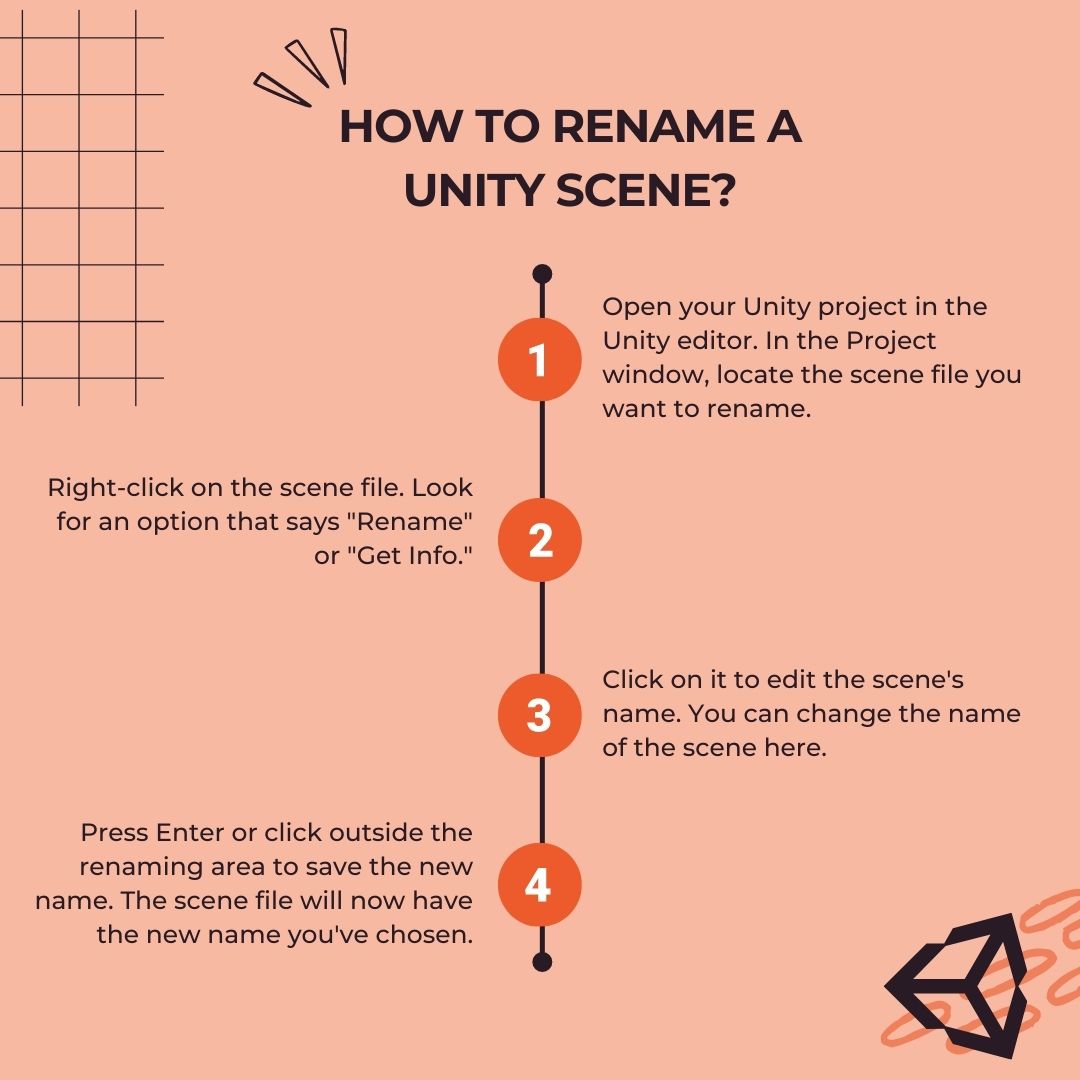
How to rename a Unity scene?
- Open your Unity project in the Unity editor.
- In the Project window, locate the scene file you want to rename.
- Right-click on the scene file.
- Look for an option that says “Rename” or “Get Info.”
- Click on it to edit the scene’s name.
- You can change the name of the scene here.
- Press Enter or click outside the renaming area to save the new name.
- The scene file will now have the new name you’ve chosen.
When you rename a Unity scene, it will update the name within the Unity editor and in your project’s file structure. However, please note that if you have references to the scene in other scripts or objects within your project, you’ll need to manually update those references to reflect the new scene name.
Make sure to update any code or objects that rely on the scene name to avoid any issues or errors in your project. Renaming a scene can be helpful for better organization and clarity within your project.
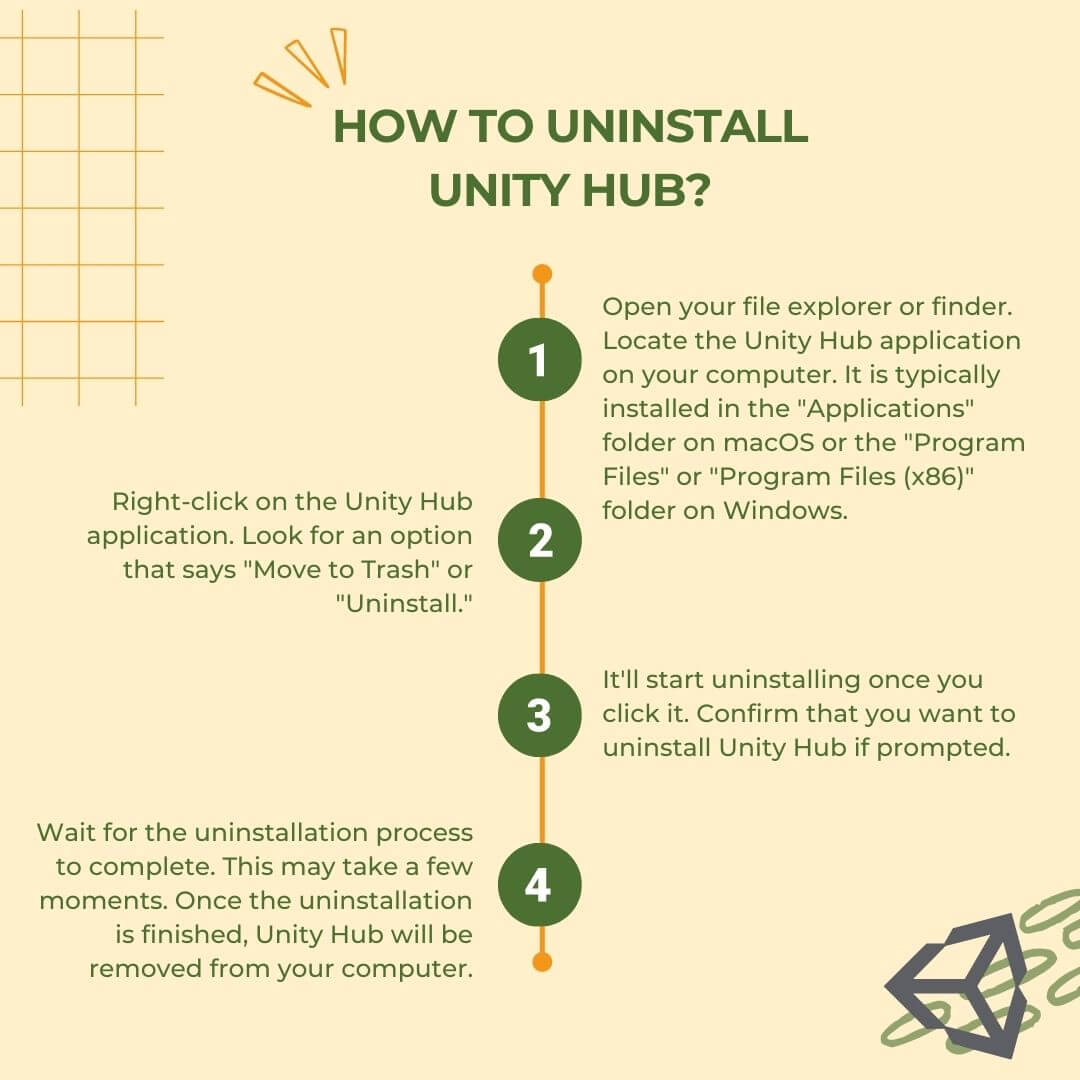
Uninstall Unity hub
- Open your file explorer or finder.
- Locate the Unity Hub application on your computer. It is typically installed in the “Applications” folder on macOS or the “Program Files” or “Program Files (x86)” folder on Windows.
- Right-click on the Unity Hub application.
- Look for an option that says “Move to Trash” or “Uninstall.”
- It’ll start uninstalling once you click it.
- Confirm that you want to uninstall Unity Hub if prompted.
- Wait for the uninstallation process to complete. This may take a few moments.
- Once the uninstallation is finished, Unity Hub will be removed from your computer.
Note: uninstalling Unity Hub will not remove any Unity projects or assets on your computer. Those will remain intact unless you manually delete them.
If you have any specific projects associated with Unity Hub, you may want to back them up or make note of their locations before uninstalling Unity Hub to ensure you don’t lose any important data.
Remember, uninstalling Unity Hub is only necessary if you no longer need the application. If you plan to use Unity in the future, you can always reinstall Unity Hub at a later time.
Conclusion
In conclusion, mastering the art of asset management and project organization in Unity is crucial for efficient development and a clutter-free workspace.
Using the step-by-step instructions in this blog post, you can now delete assets in Unity, rename projects and scenes, clear the Unity cache, and even uninstall Unity Hub.
These techniques empower you to keep your Unity projects organized, optimize performance, and streamline your workflow. Remember to exercise caution when deleting assets and renaming projects, ensuring that you update any relevant references to avoid issues.
With these skills in your toolkit, you’re well-equipped to maintain a well-organized and productive Unity development environment. Happy coding and creating in Unity!



Responses