Mesh From Circles
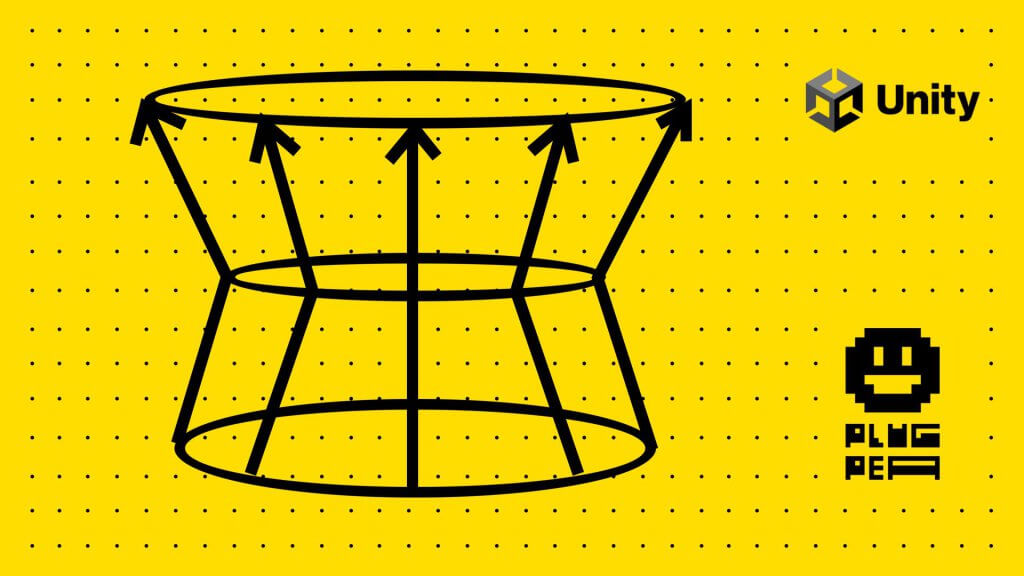
Welcome to PlugPea! In this blog, we will explore how you can effortlessly design your Unity assets using the PlugPea editor. In this particular example, we will focus on designing a mesh by defining its height and radius. Join us as we delve into the installation process, basic features of the PlugPea editor, and how you can use it to create your own Unity assets.
Installing PlugPea and Customizing the Layout
To begin, let’s install PlugPea and customize the layout. By saving a specific layout, you can easily load it from a file and modify your Unity interface accordingly.
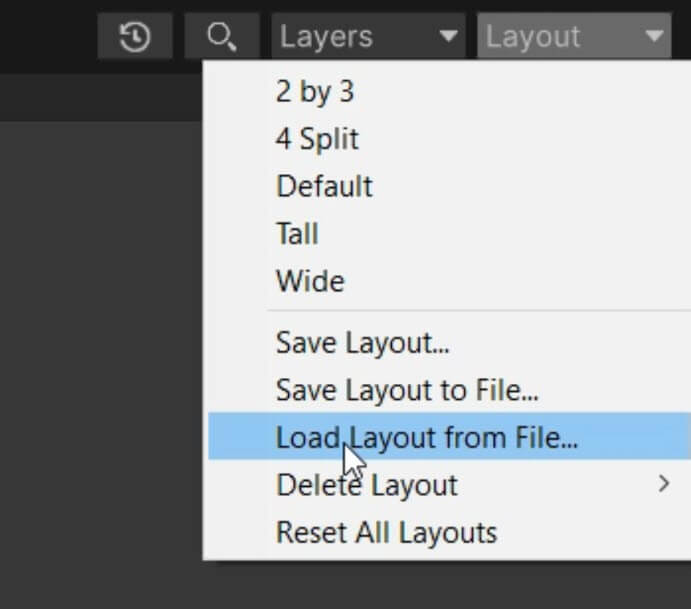
This feature streamlines the design process, making it more convenient to work with PlugPea.
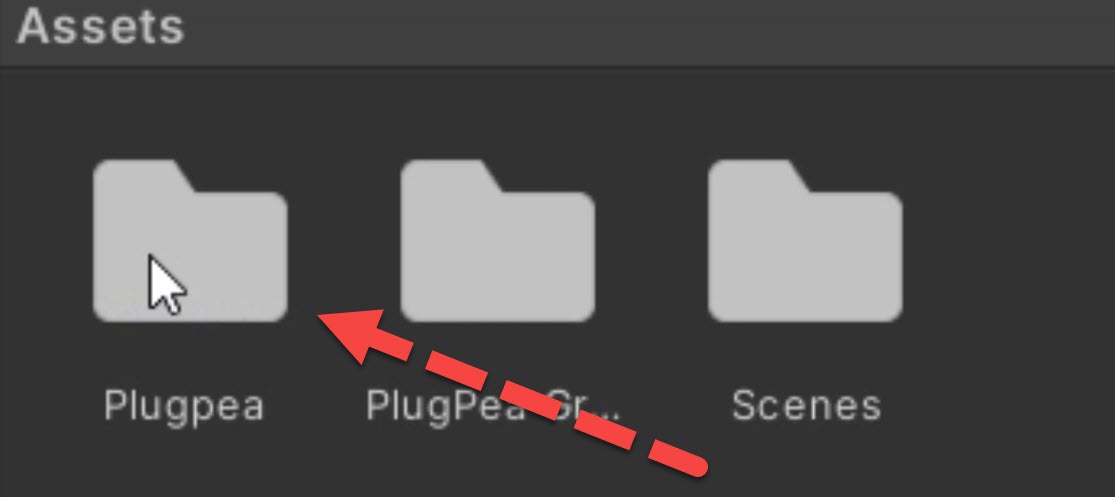
Placing PlugPea in Your Asset
Once installed, we can add PlugPea to our asset.
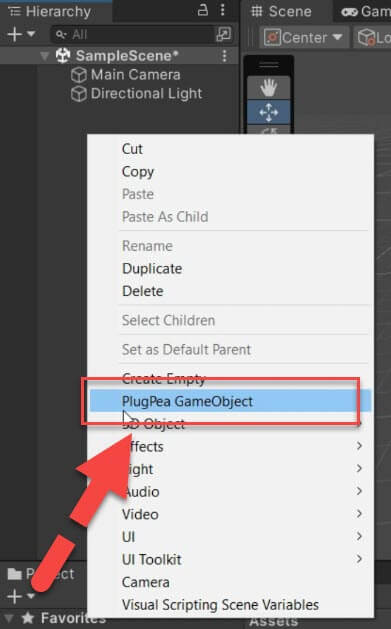
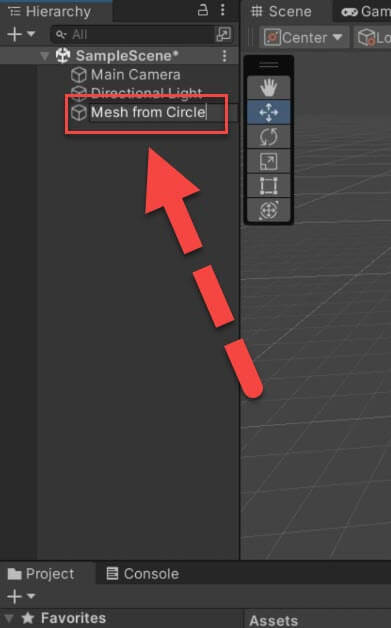
By right-clicking in the hierarchy and selecting PlugPea, you’ll notice a PlugPea game object created.
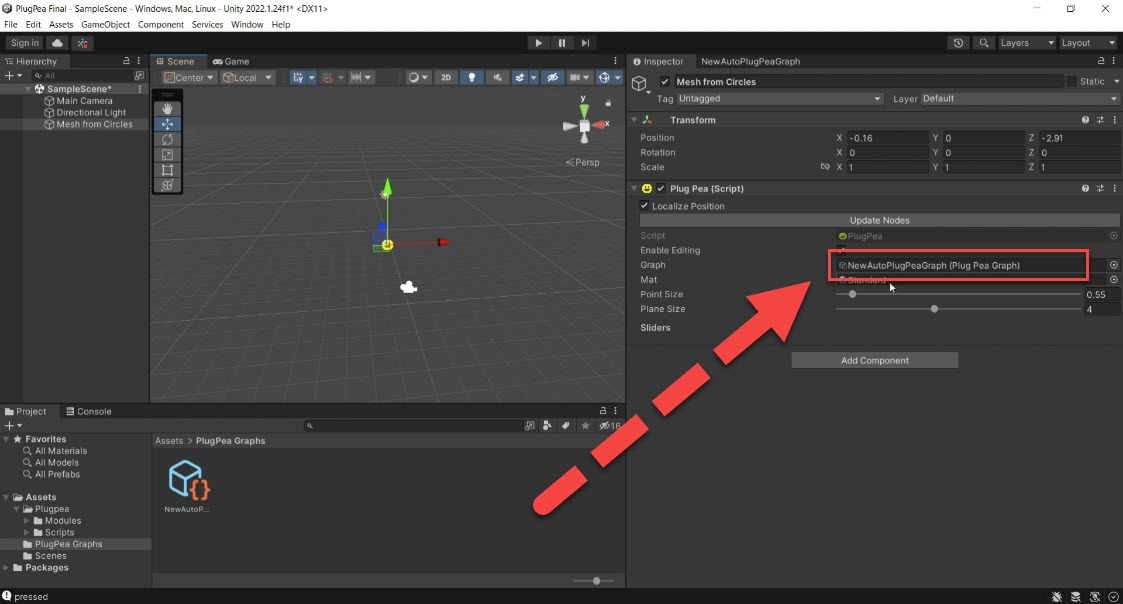
Feel free to rename it, such as “Mesh from Circles.” This action automatically adds the PlugPea script to the game object, enabling its functionality.
Designing a Circle
Next, let’s design a circle within the PlugPea graph.
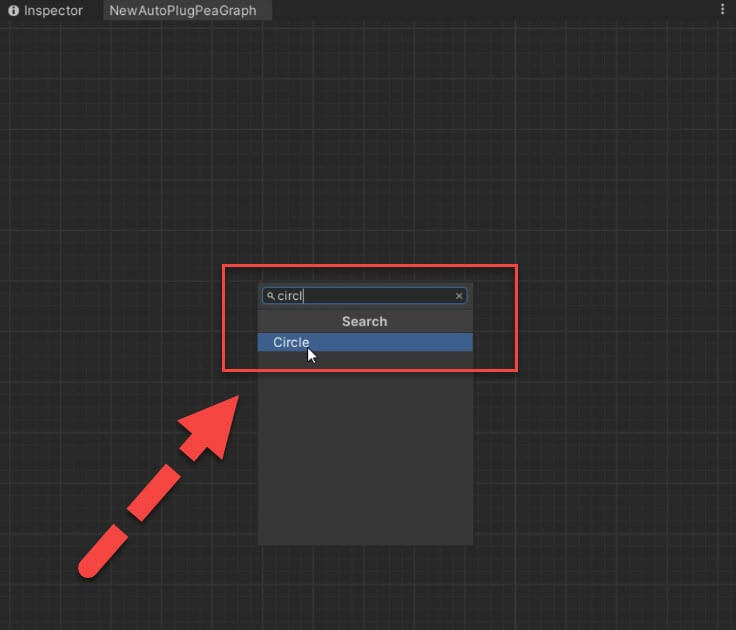
Right-click in the PlugPea graph, search for “Circle,” and select it.
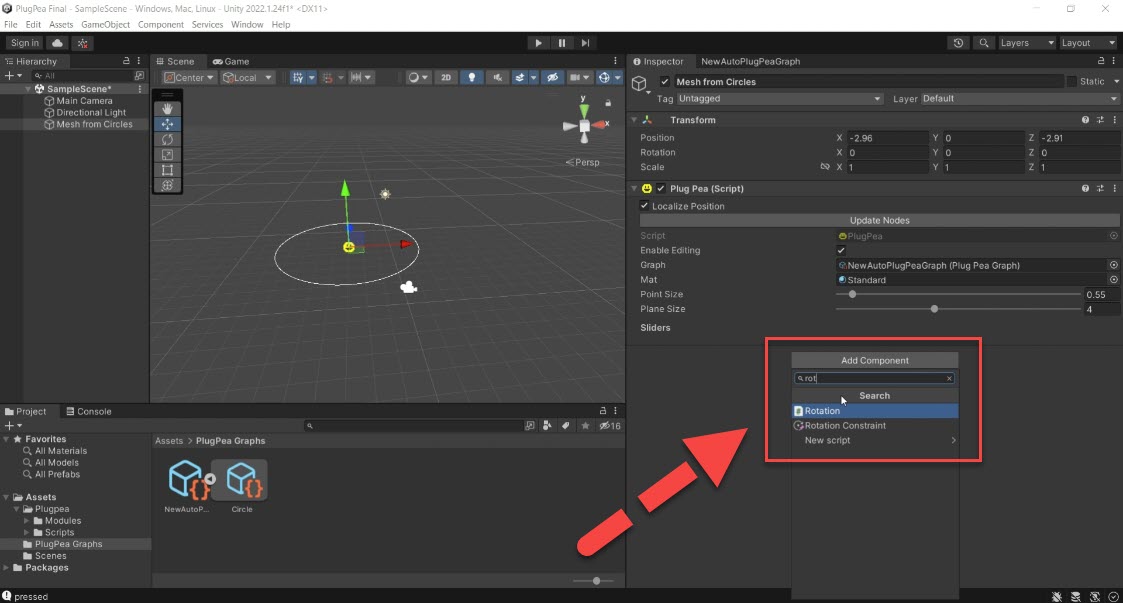
A circle will appear within the game object’s plane. It’s worth noting that the game object can be easily moved around. You can even modify its properties, such as rotation, to rotate the circle accordingly.
Customizing Radius and Height
To customize the circle’s radius, simply hit the spacebar, type in a number, and hit “Submit.”
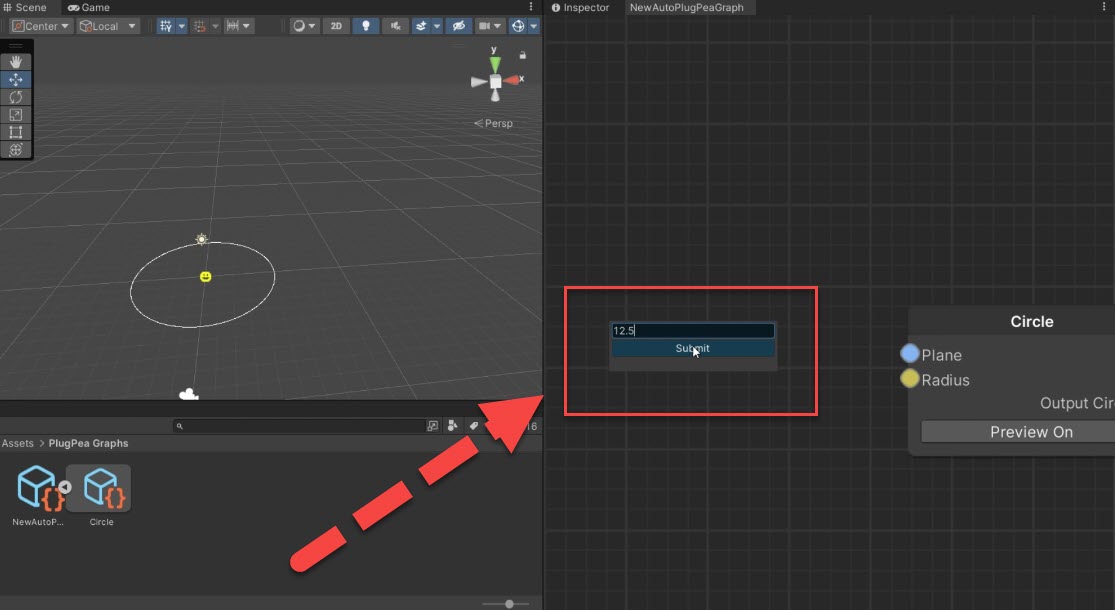
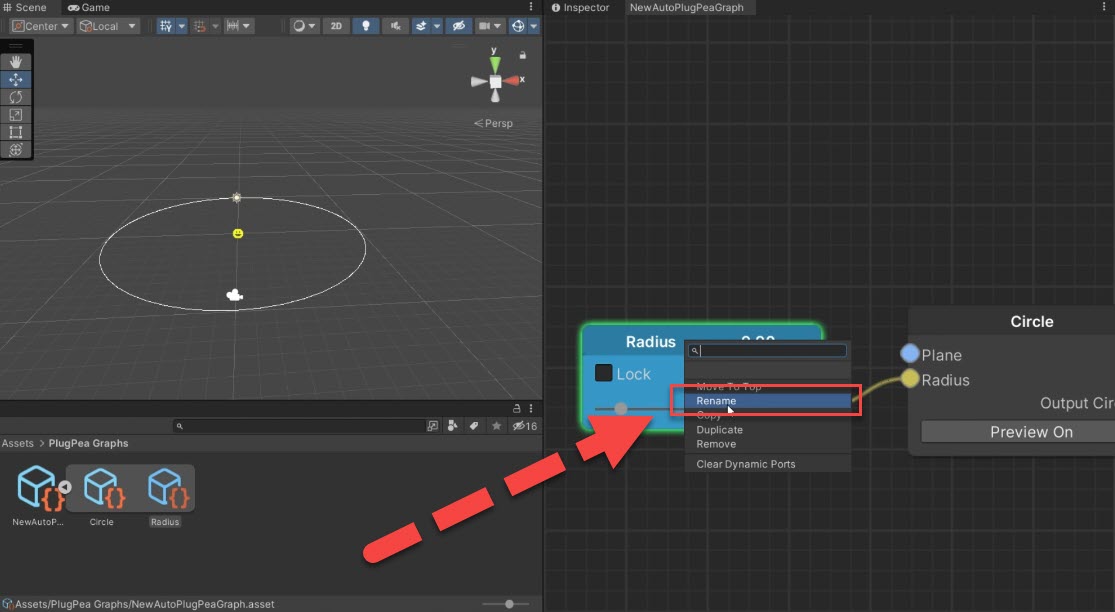
This action adjusts the radius accordingly. You can right-click on the circle and rename it, such as “Radius 1,” and apply the changes.
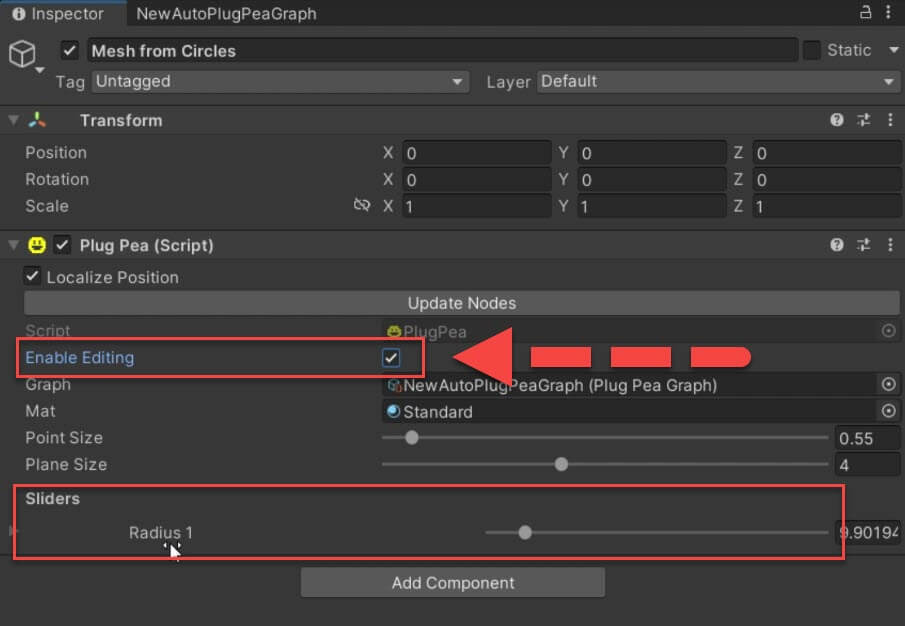
By enabling editing in the inspector, you can see the “Radius 1” slider, allowing you to modify the radius within a specific range.
Constructing a Plane for the Circle
To create a plane for the circle, right-click and search for “Construct Points” or “Vector Point.”
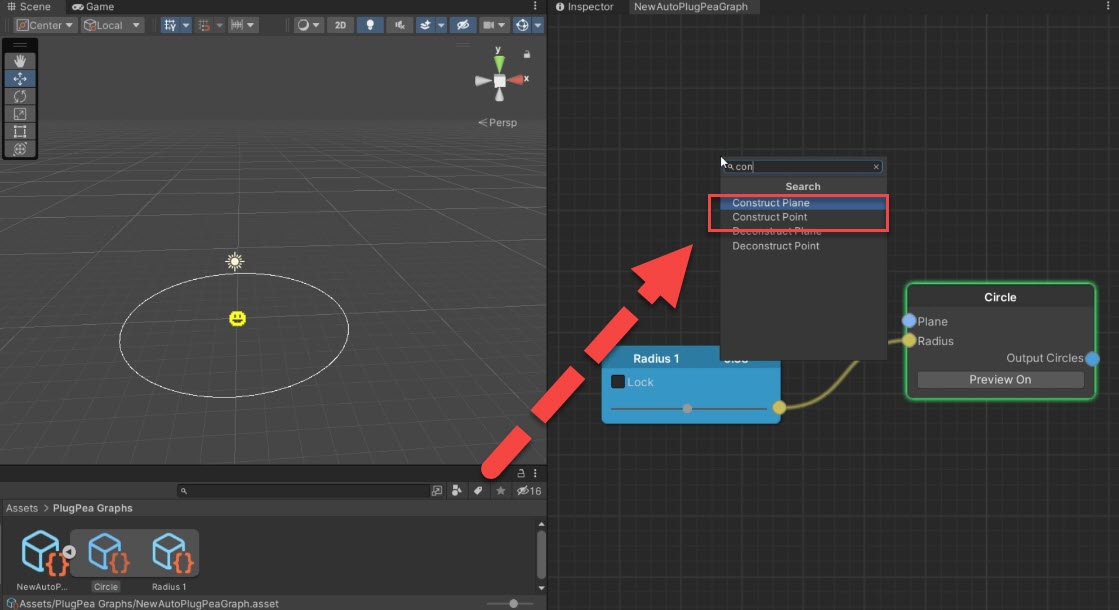
Connect the point to the “Y” direction and adjust the size of the point in the inspector for better visualization.
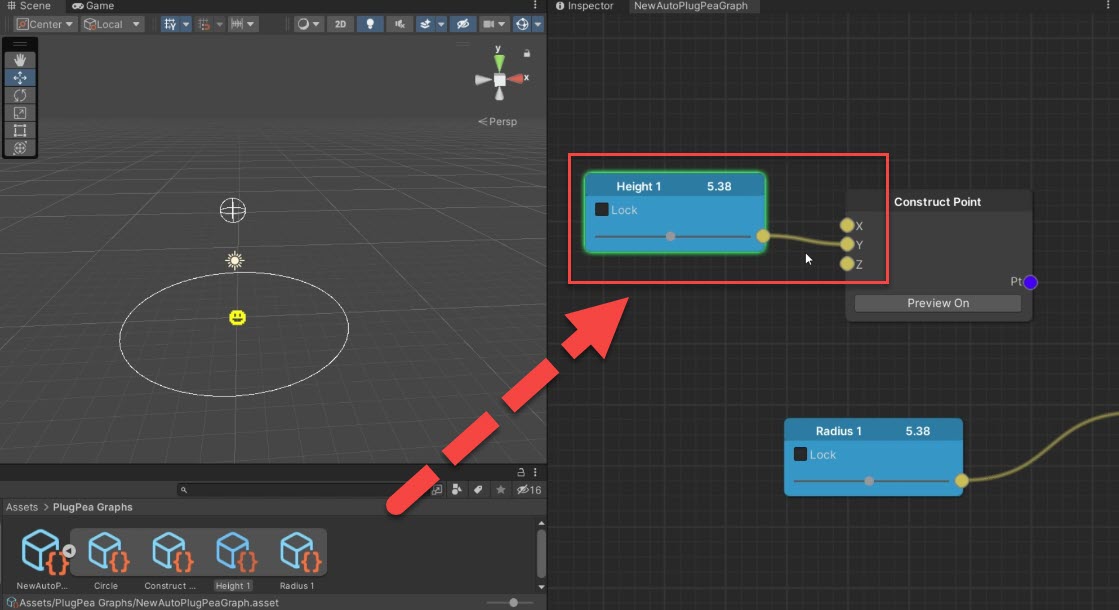
Next, use the “Vector Plane” and select the XZ plane.
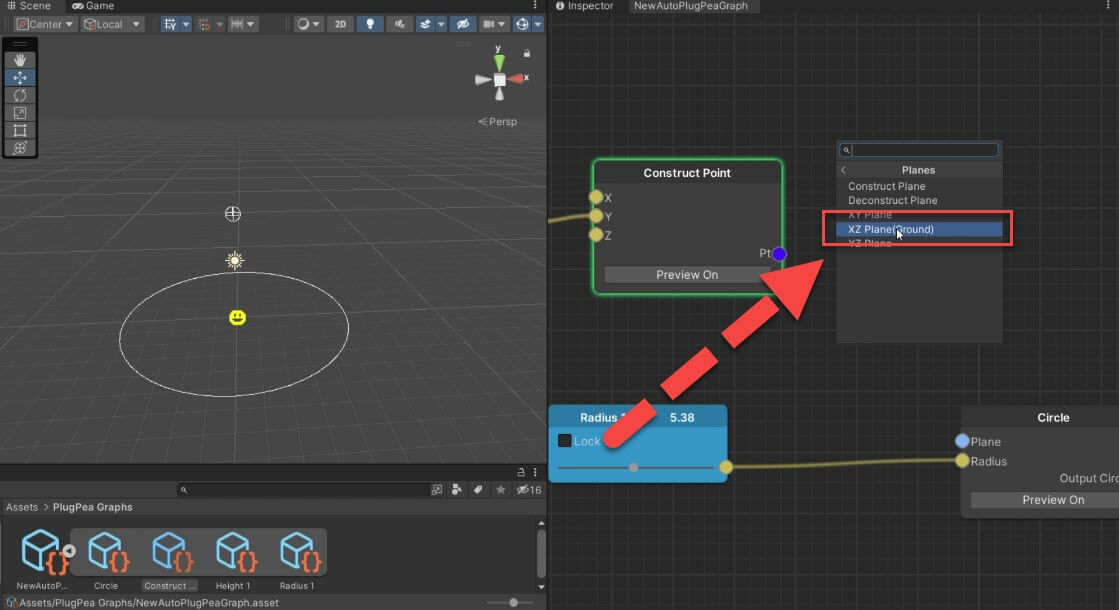
Connect the point to the plane of the circle. Now, you can easily adjust both the height and radius of the circle.
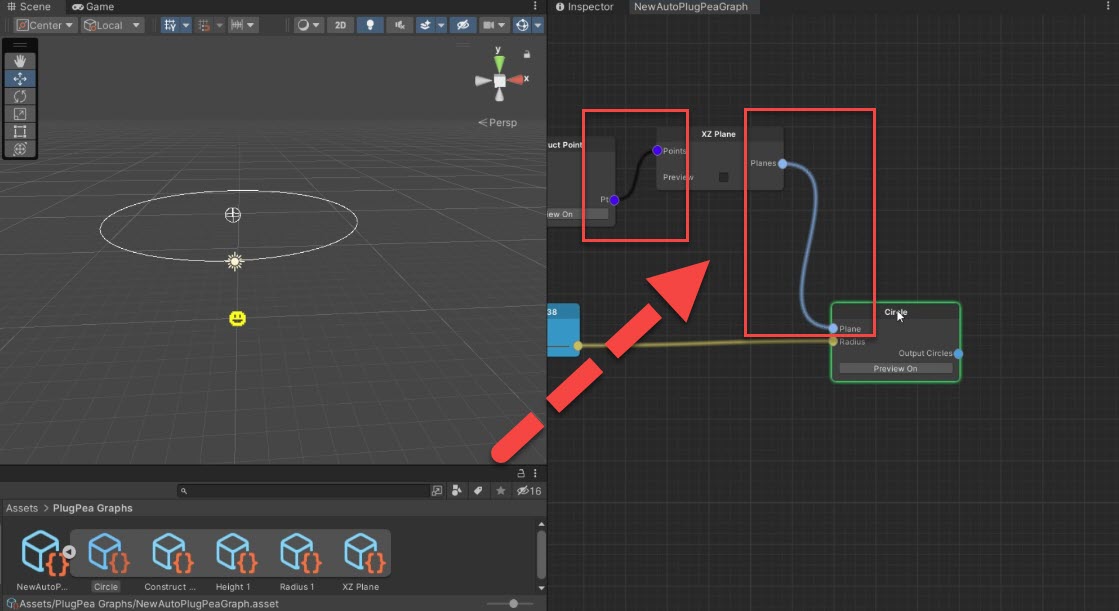
Adding Multiple Circles
By making copies of the existing circle, you can create additional circles with different properties. Duplicate the circle, rename it, and modify the values for radius and height accordingly. This way, you can effortlessly add more circles to your asset and adjust their properties individually.
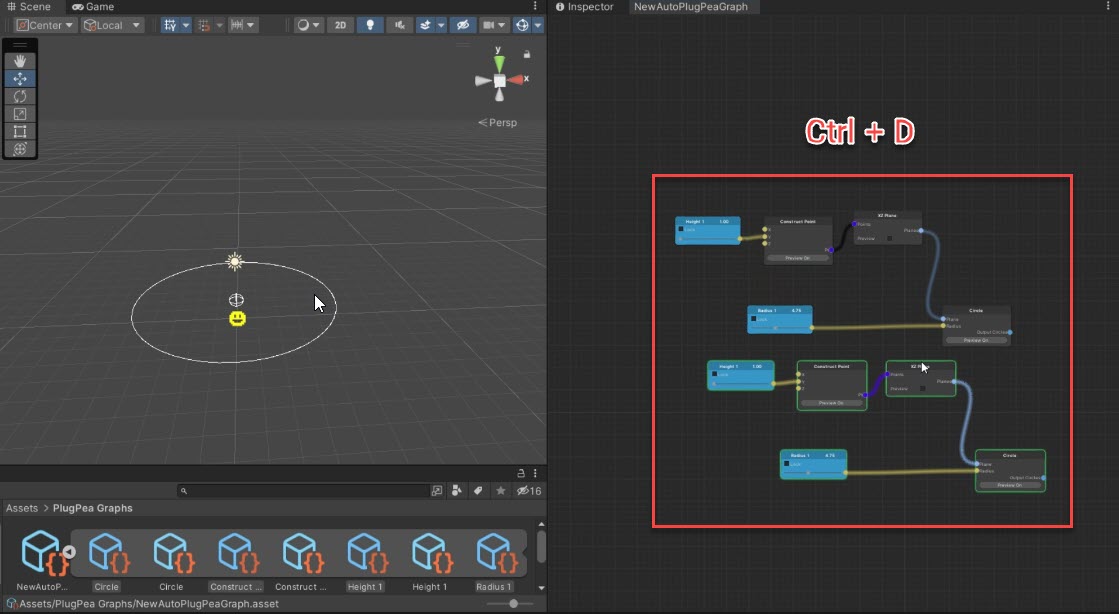
Generating a Mesh
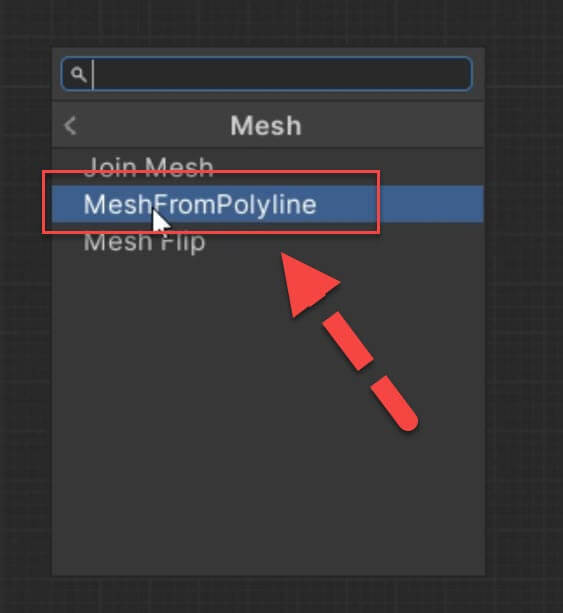
Now that we have our circles, we can generate a mesh. Right-click and select “Mesh from Polyline.”
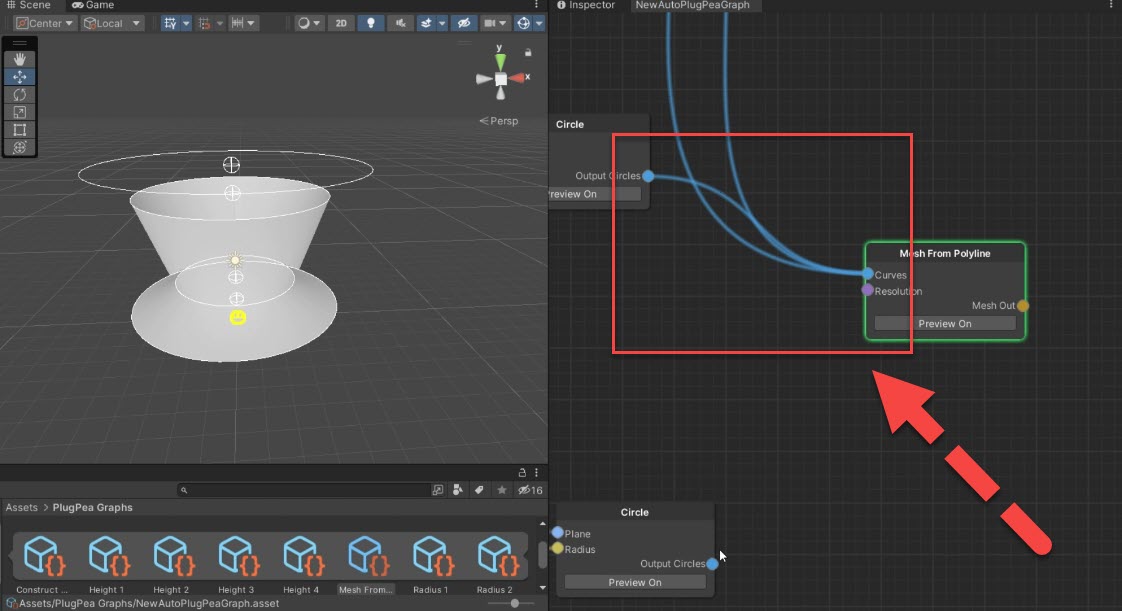
Connect all the circles to the curve input of the mesh.
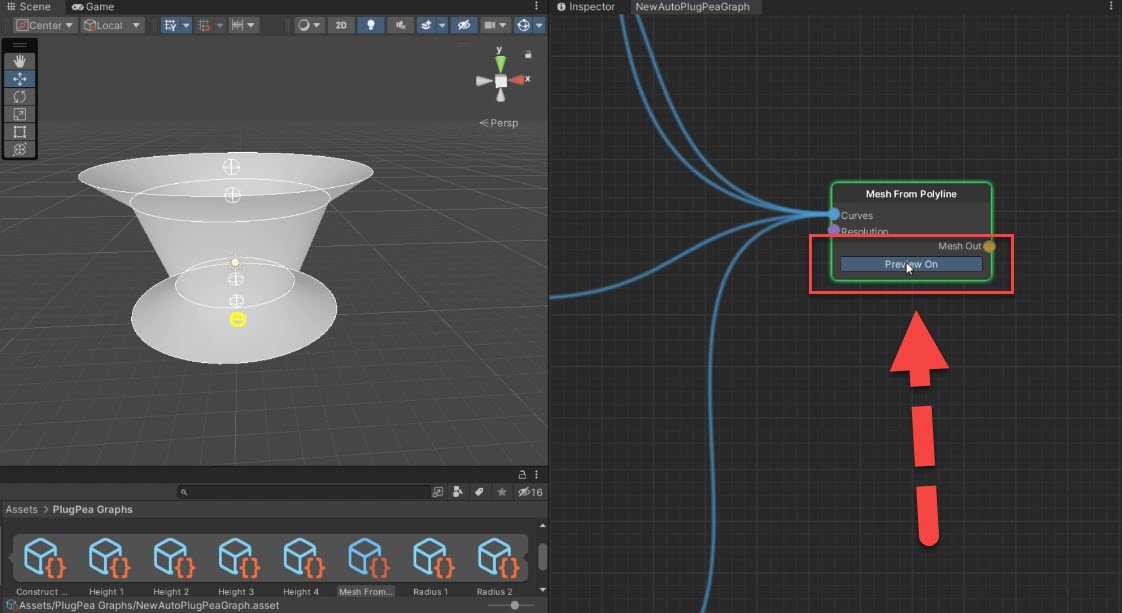
By turning the preview on and off, you can control the visibility of each graph.
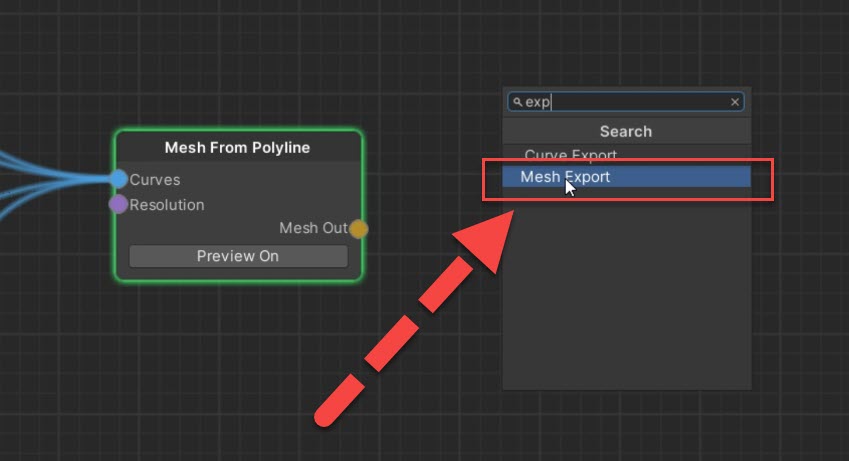
Once satisfied, right-click and select “Export Mesh.”
Rename it accordingly and adjust the color if desired. Connect the mesh outputs to the mesh inputs.
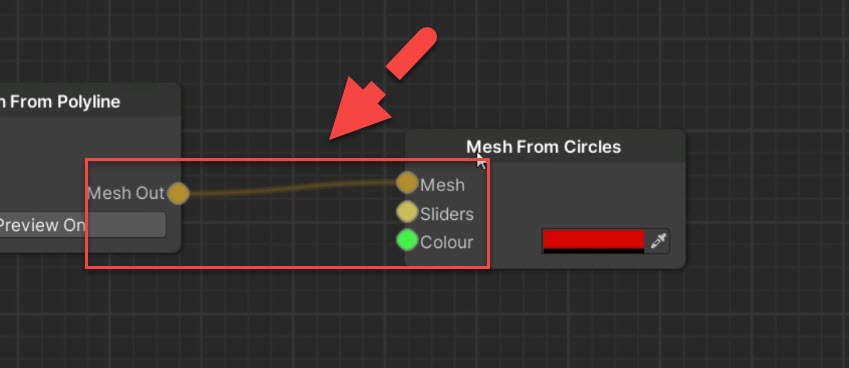
Updating the Mesh
To update the mesh, go to the inspector and adjust the sliders for the circles’ properties.
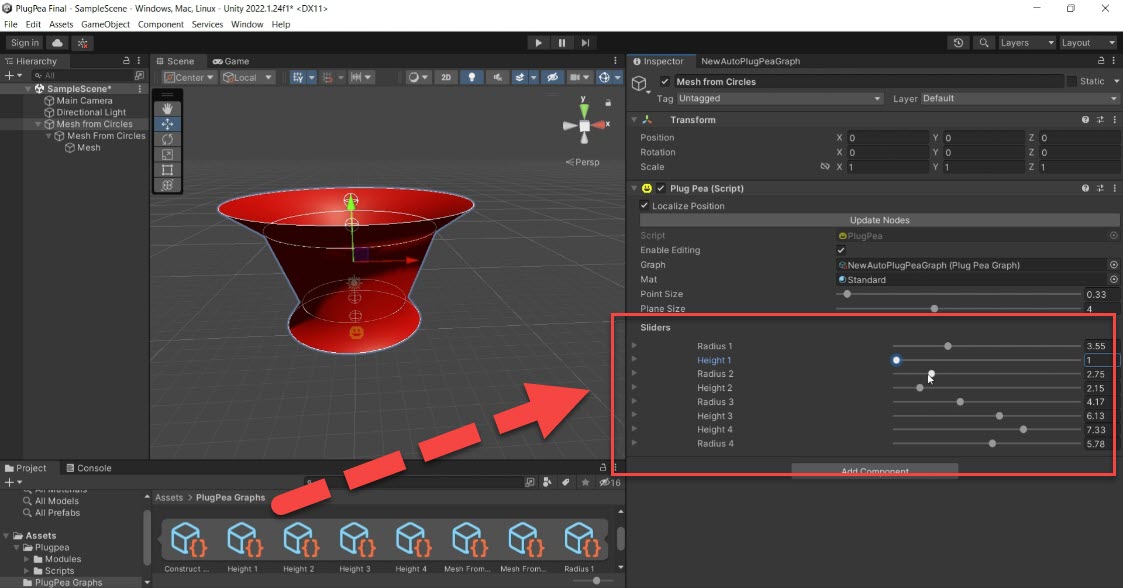
The changes will be reflected in the mesh. Remember, you can control the minimum and maximum values of the sliders by opening them and assigning new ranges.
Conclusion
Designing Unity assets with the PlugPea editor is a breeze. By following these simple steps, you can create intricate meshes by defining height and radius effortlessly. Don’t forget to experiment with rotation, movement, and point size to customize your asset further. And remember, if you want to use the mesh without the graph, you can easily extract it.



Responses